
Face your fears head on
Courage doesn’t mean we are never afraid, courage is simply daring to take action, despite our fear. And along those lines, the Do It Scared® Movement is about learning how to face your fears head on, overcome the obstacles that get in your way, and ultimately create a life you LOVE.

AS FEATURED IN


AS FEATURED IN


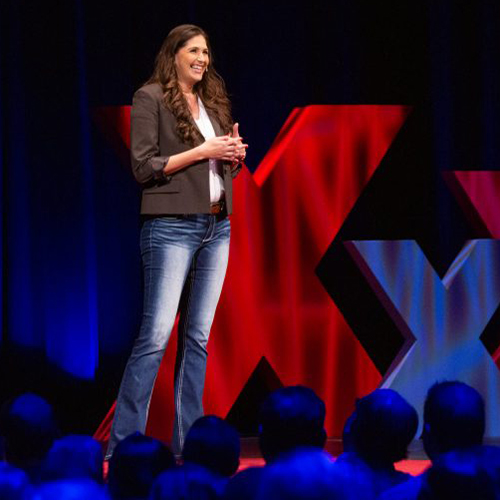
the TED Talk
What you don’t know about your fear CAN hurt you – here’s why:
The truth is the underlying cause of almost all the self-sabotage that happens in our life–especially when it comes to making big changes or going after big goals–happens as a direct result of FEAR. Not the phobia kind of fear, like the fear of snakes or the fear of flying, but a deeper, more internal kind of fear.
And while fear impacts all of us in one way or another, how it actually shows up looks very different from person to person.
So why does that matter?
Watch Ruth’s TEDx Talk as she unpacks HOW your fear is showing up in your life. And what’s more, actually identifying your fear is so powerful that it works almost instantly.
Do GREAT THINGS
“Once you discover your fear archetypes and the strategy through the courage principles to overcome those fears-wow the things you will accomplish!!! Will definitely comeback to this book time and time again!”
-ALEXIS MAYCOCK
the Book
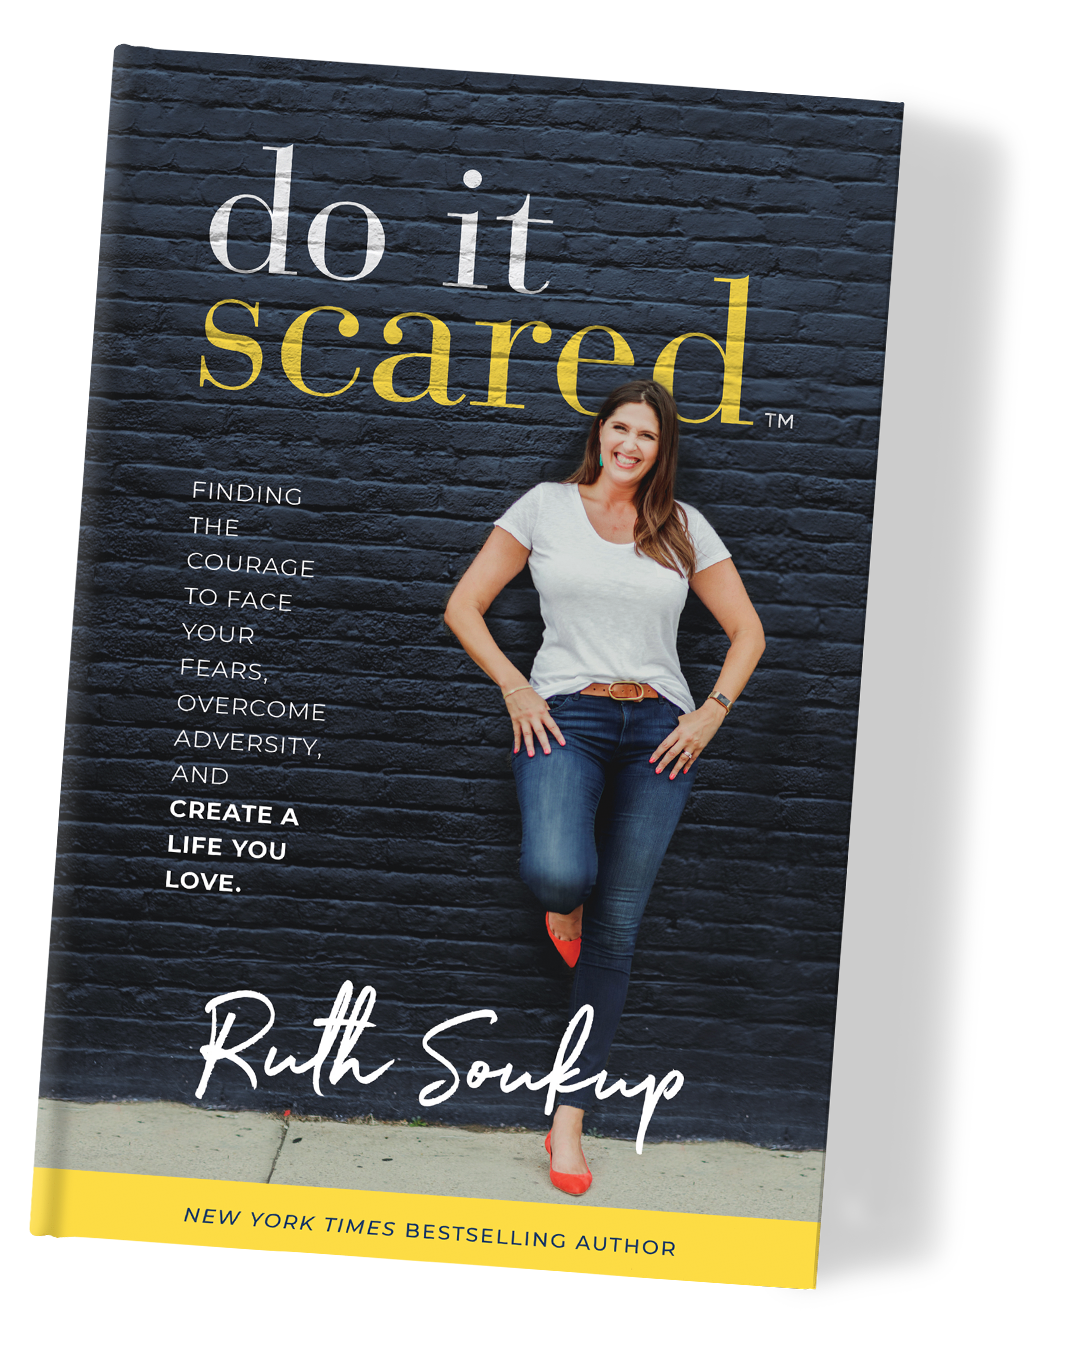
Equal parts inspiration and tough love, Do It Scared combines easy-to-implement practical tips with the much-needed motivation to start making real changes that lead to big results. From discovering your unique Fear Archetype™ to adopting the Principles of Courage, it’s the book designed to help you face your fears, overcome adversity, and ultimately, create a life you love.
the Book
What would you do if fear no longer stood in your way? We tell ourselves we are too busy to pursue our dreams. That there’s no time, or that it’s not practical. But what if the real reason we’re putting off those big goals and dreams is FEAR?
Equal parts inspiration and tough love, Do It Scared combines easy-to-implement practical tips with the much-needed motivation to start making real changes that lead to big results. From discovering your unique Fear Archetype® to adopting the Principles of Courage, it’s the book designed to help you face your fears, overcome adversity, and ultimately, create a life you love.
Order now to claim your free bonuses
Step 1
buy the book
Step 2
claim your bonuses
(No matter where you order your book from!)


…or purchase from our in-house shop here and have your bonuses sent automatically.
by the numbers
Email Subscribers
EBA Students
Podcast Downloads
Books Sold
Planner users
by the numbers
Email Subscribers
Podcast Downloads
EBA Students
Books Sold
Planner users
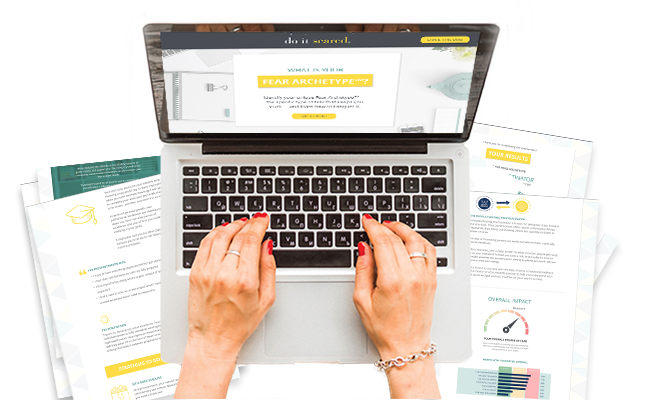
the Fear Assessment
The Do It Scared Fear Assessment will help you identify your unique Fear Archetype™, as well as give you massive insight into how that fear might be playing out in your life…and what you can do about it.
the Fear Assessment
The Do It Scared Fear Assessment will help you identify your unique Fear Archetype™, as well as give you massive insight into how that fear might be playing out in your life…and what you can do about it.
LIFE CHANGING
““Do it Scared” is literally changing me!!! My life’s view and my life’s capacity are becoming bigger and better because of what Ruth Soukup has written. Thank you a million times for your courage to write this bold and progressive book!!! I shall keep reading in over and over!!!“
-JENNIFER ANN MONREAL
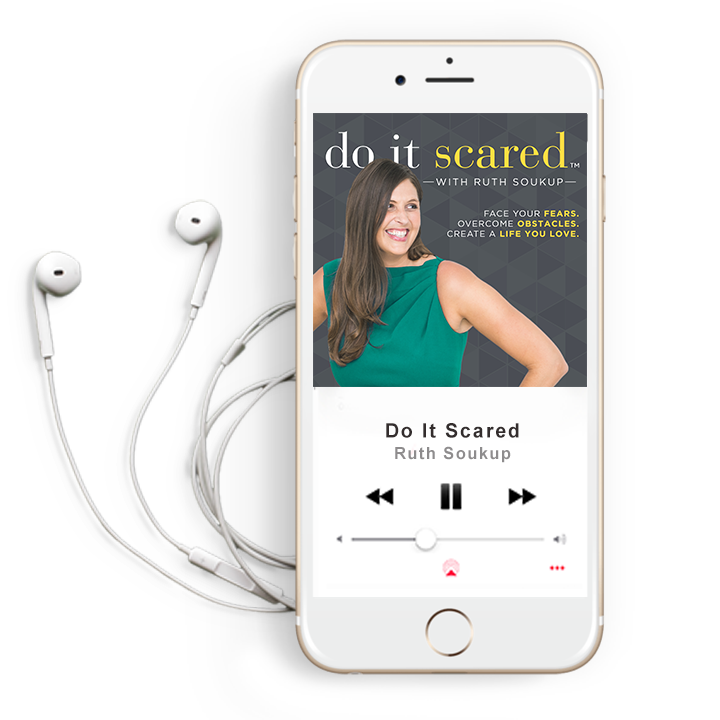
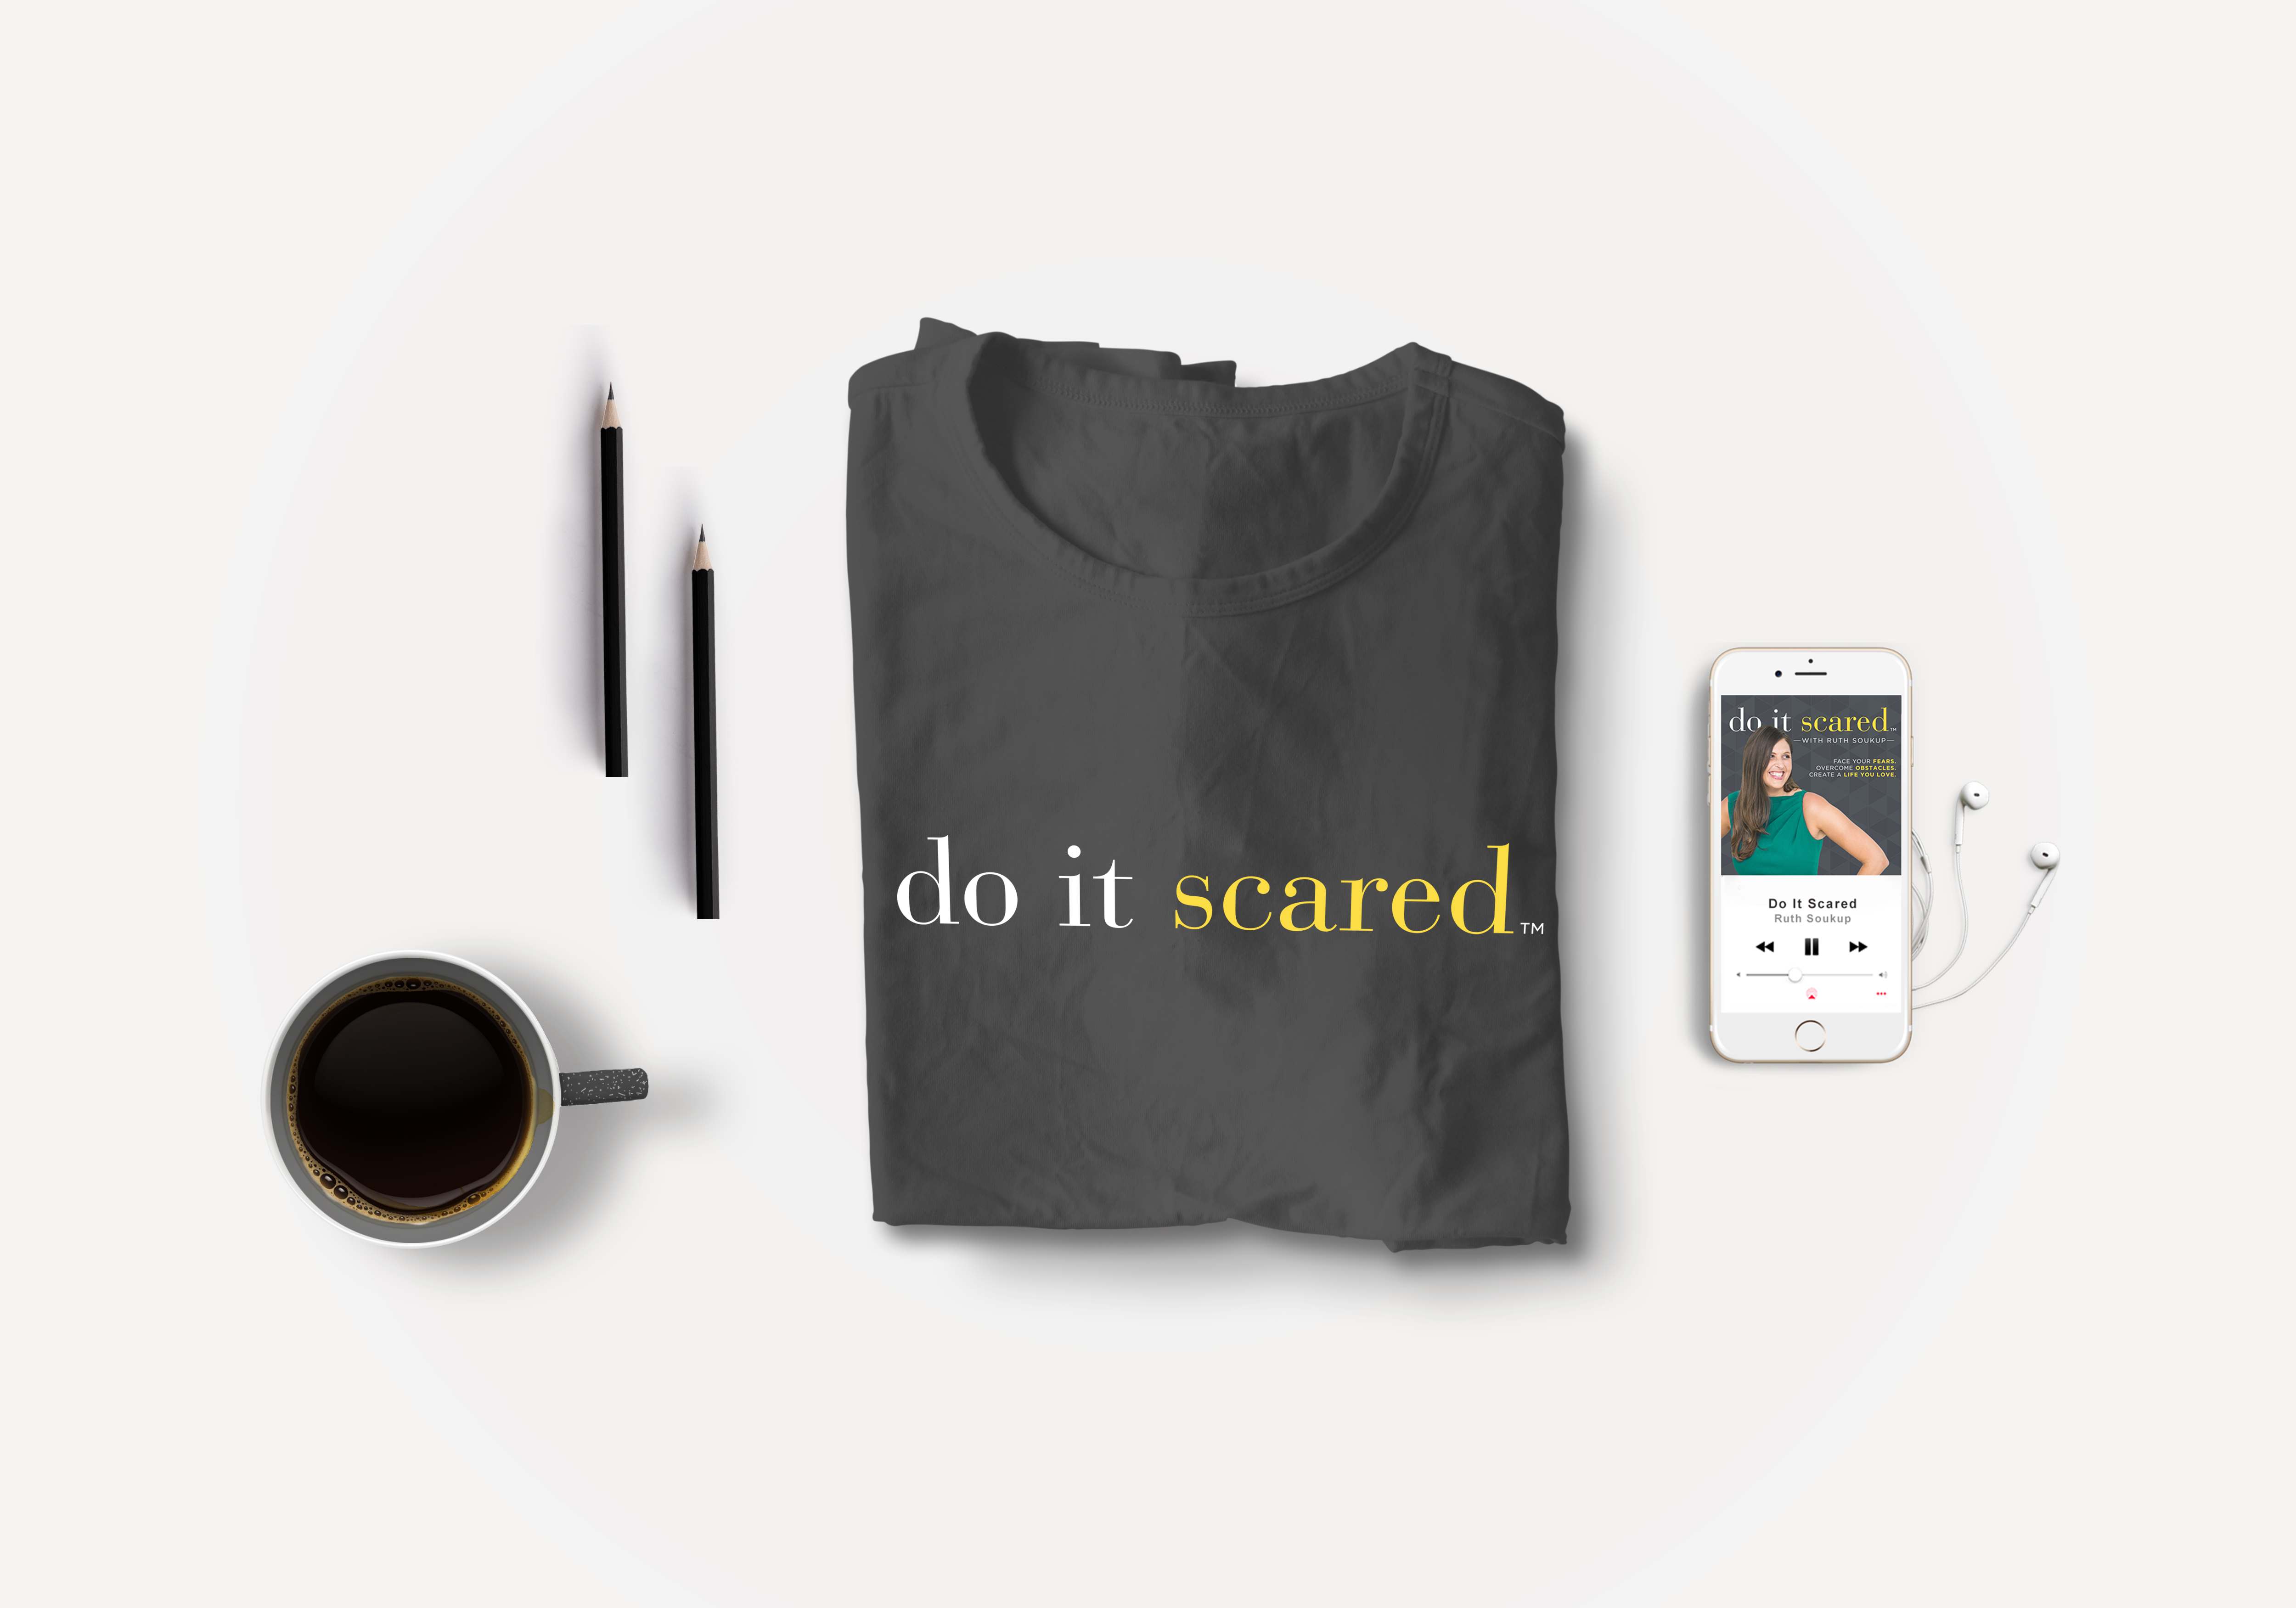
the Podcast
The Do It Scared® podcast is all about taking the concrete action steps that will help you move past your fear and create a life you love. It is equal parts inspiration and tough love, complete with practical, easy-to-implement tips and interviews with some incredible authors, influencers, and inspiring people who have dared to do it scared in their own lives.
GAME CHANGER
“This book has been a game changer for me! It has unlocked the door into some aspects of myself that I knew were holding me back but wasn’t sure how it why. Reading the full assessment results are like a light shined in a dark room! Total “Aha” moment for me. It lit a spark in my life and had given me a sense of excitement.“
-EVONNE HALL
REVIEW AND WIN
Help spread the word about the Do It Scared™ Podcast and earn a chance to win! We’re giving away a TON of T-shirts, tank tops, and mugs as a thank you to people who promote the podcast.
REVIEW AND WIN
Help spread the word about the Do It Scared™ Podcast and earn a chance to win! We’re giving away a TON of T-shirts, tank tops, and mugs as a thank you to people who promote the podcast.
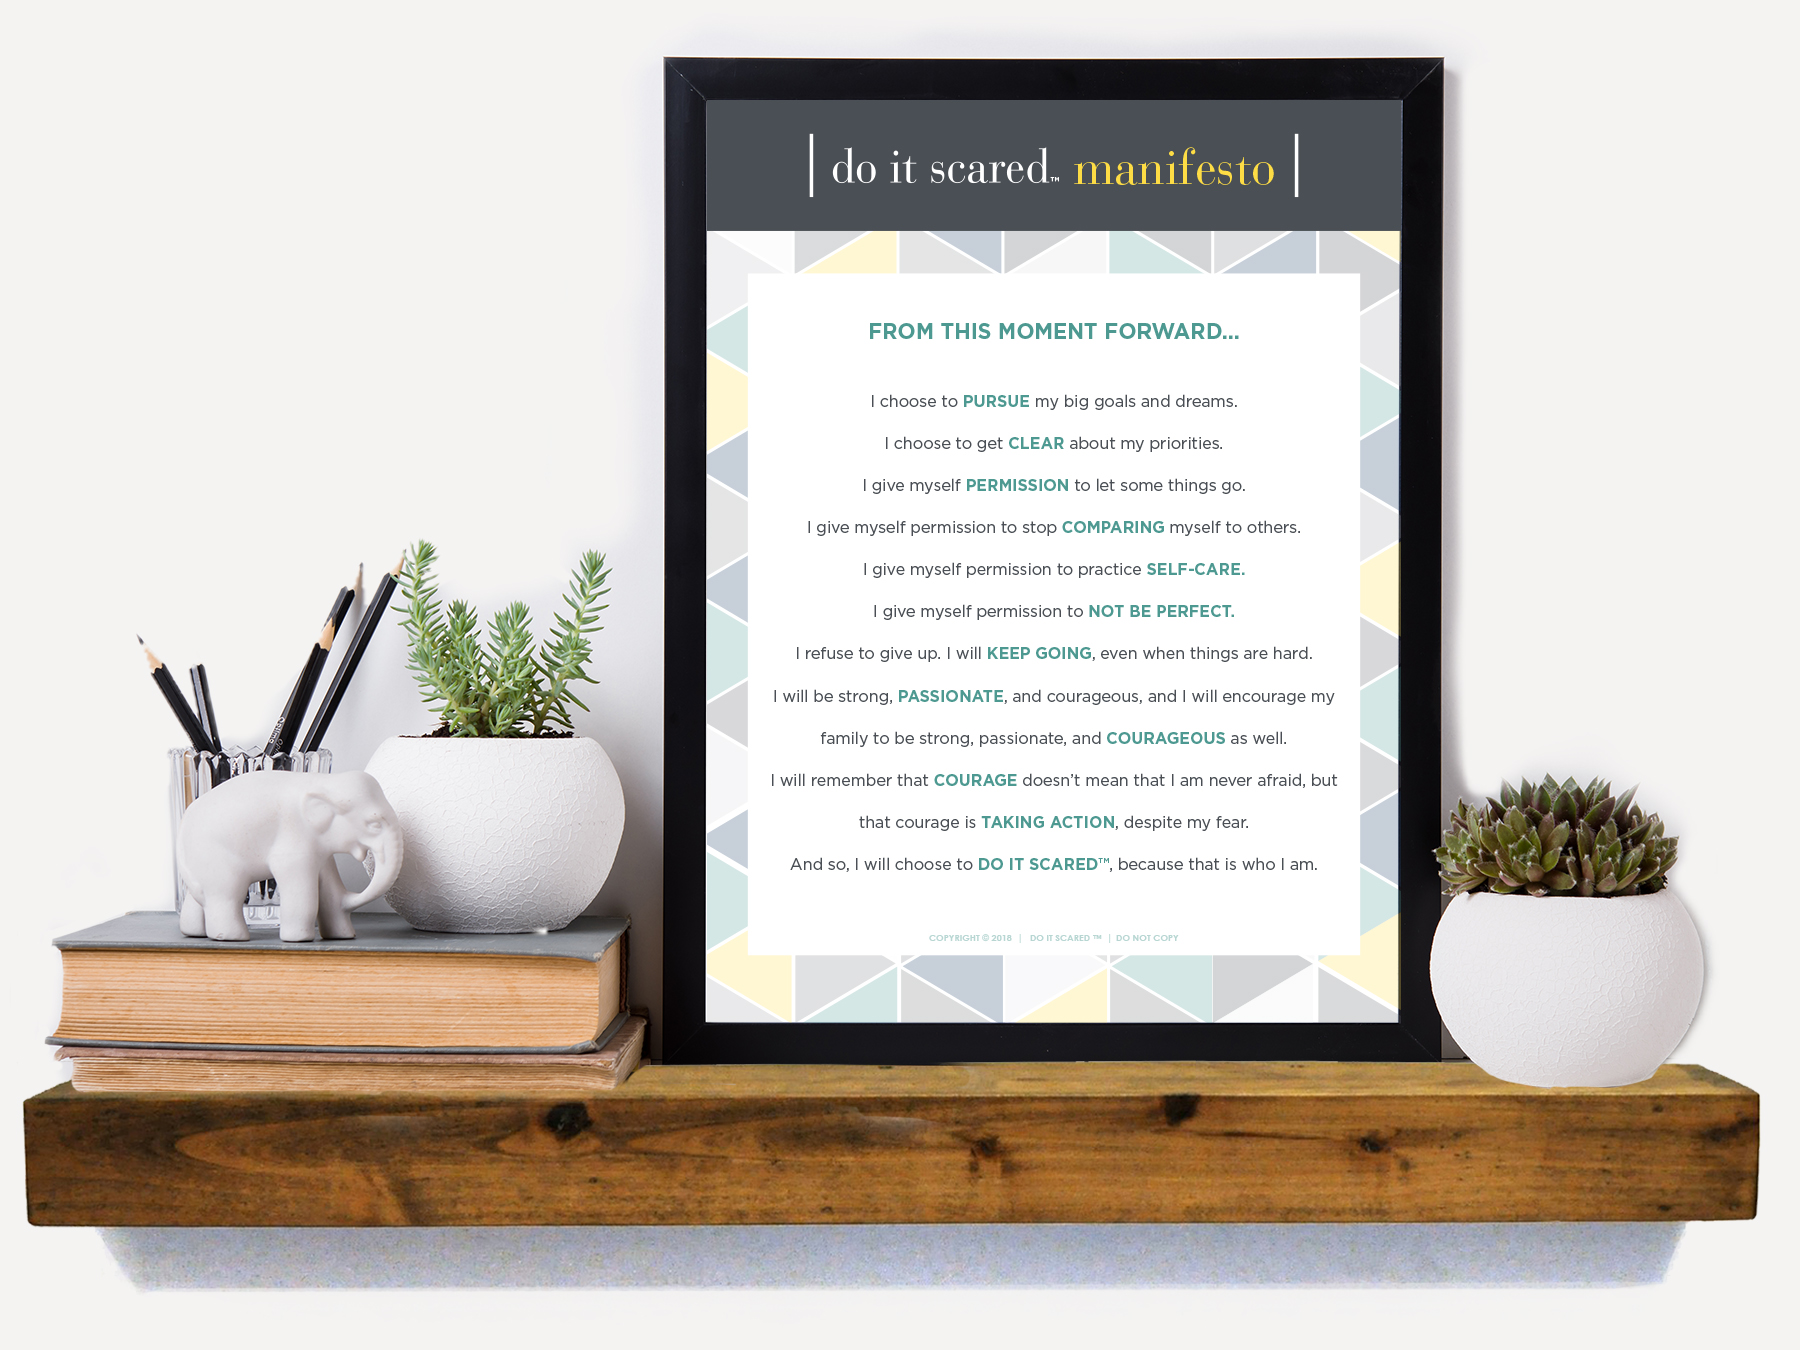
THE DO IT SCARED™ MANIFESTO
From this moment forward, I choose to pursue my big goals and dreams. I choose to get clear about my priorities. I give myself permission to let some things go.
I give myself permission to stop comparing myself to others. I give myself permission to practice self-care. I give myself permission to not be perfect. I refuse to give up. I will keep going, even when thing are hard.
I will be strong, passionate, and courageous, and I will encourage my family and those around me to be strong, passionate and courageous as well.
I will remember that courage doesn’t mean I am never afraid, but that courage is taking action, despite my fear. And so, I will choose to Do It Scared™, because that is who I am.
THE DO IT SCARED™ MANIFESTO
From this moment forward, I choose to pursue my big goals and dreams. I choose to get clear about my priorities. I give myself permission to let some things go.
I give myself permission to stop comparing myself to others. I give myself permission to practice self-care. I give myself permission to not be perfect. I refuse to give up. I will keep going, even when thing are hard.
I will be strong, passionate, and courageous, and I will encourage my family and those around me to be strong, passionate and courageous as well.
I will remember that courage doesn’t mean I am never afraid, but that courage is taking action, despite my fear. And so, I will choose to Do It Scared®, because that is who I am.
ARE YOU ON THE LIST?
A fresh new version of the Living Well Planner® will be arriving soon—join our waitlist to be first in line to get a sneak peek of the new design, plus get access to exclusive bonuses & discounts!
RESERVE YOUR PLANNER NOW
Can you feel the excitement? Our fresh new Living Well Planner® is almost here, and it is the sanity saver you’ve been waiting for! Preorder now & take advantage of our lowest price of the year, plus get access to 2 amazing bonuses!
RESERVE YOUR PLANNER NOW
Can you feel the excitement? Our fresh new Living Well Planner® is almost here, and it is the sanity saver you’ve been waiting for! Preorder now & take advantage of our lowest price of the year, plus get access to 2 amazing bonuses!
Hi, I’m Ruth!
I’m a wife, mom, business owner, depression survivor, the New York Times bestselling author of six books, the founder of Living Well Spending Less® and Elite Blog Academy® and now, your courage coach.
In my own life, I’ve discovered that courage doesn’t mean we’re never afraid, but instead that courage is simply taking action, even in the face of fear. And now I’m here to not only help you dream bigger, but to take the steps necessary to make those goals and dreams a reality.

Hi, I’m Ruth!
In my own life, I’ve discovered that courage doesn’t mean we’re never afraid, but instead that courage is simply taking action, even in the face of fear. And now I’m here to not only help you dream bigger, but to take the steps necessary to make those goals and dreams a reality.